This section is where you schedule your event. You can add one or multiple showtimes, each with its own start time, end time, venue, and capacity. CloudJoi calls these “Timings.”
What is a Timing?
A Timing is a scheduled instance of your event.
You can have one or multiple timings per event — each with its own:
-
Date & Time
-
Capacity
-
(Later) Venue
-
(Later) Ticket tiers
Adding Timings
You have 3 ways to create timings:
-
+ Add New Timing
Add one session at a time with full control over date, time, and capacity. -
Duplicate Timing
Great for recurring schedules — click the 📄 icon to duplicate an existing timing. -
Add Date Range
Quickly generate multiple timings over a stretch of dates with a shared time (e.g. a daily show across 10 days).
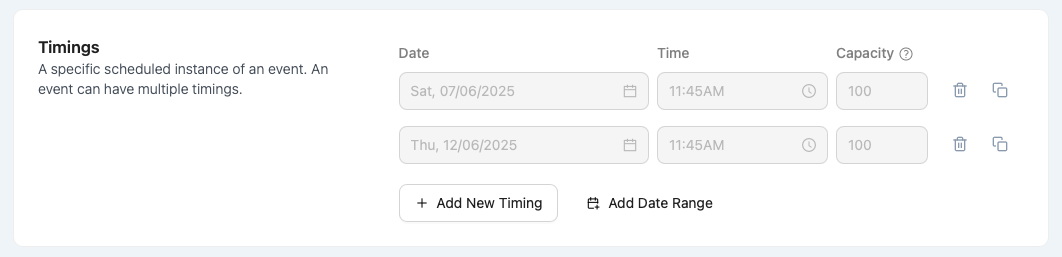
Filling in the Timing Fields
Each timing includes:
-
Date & Time: When the session begins
-
Capacity: Total number of attendees allowed for that timing
⚠️ If you leave capacity blank, the system will auto-assign 9,999.
🧠 Best Practice: Always set an accurate capacity. It helps prevent overselling and allows you to configure tickets properly later on.
Managing Timings
Once you’ve added a few:
-
Use the 🗑️ icon to delete a timing (only possible if no tickets have been sold)
-
Use the 📄 icon to duplicate it quickly
-
Once published, you can copy the Purchase URL for each timing — useful for private shows or directing patrons to a specific session.
🔗 The Purchase URL bypasses the event listing and takes the buyer directly to the checkout page for that specific timing.
Post-Approval Edits
-
After your event is approved and published, you’ll be able to edit timings under the Ticketing tab.
-
You can change or delete time and capacity, but only if no sales have happened for that timing.