You’ll assign a venue to each event so patrons know where to go. You can also assign different venues for different timings. CloudJoi makes it easy to search, select, or even add a brand-new venue — powered by Google Maps.
How to Add a Venue
-
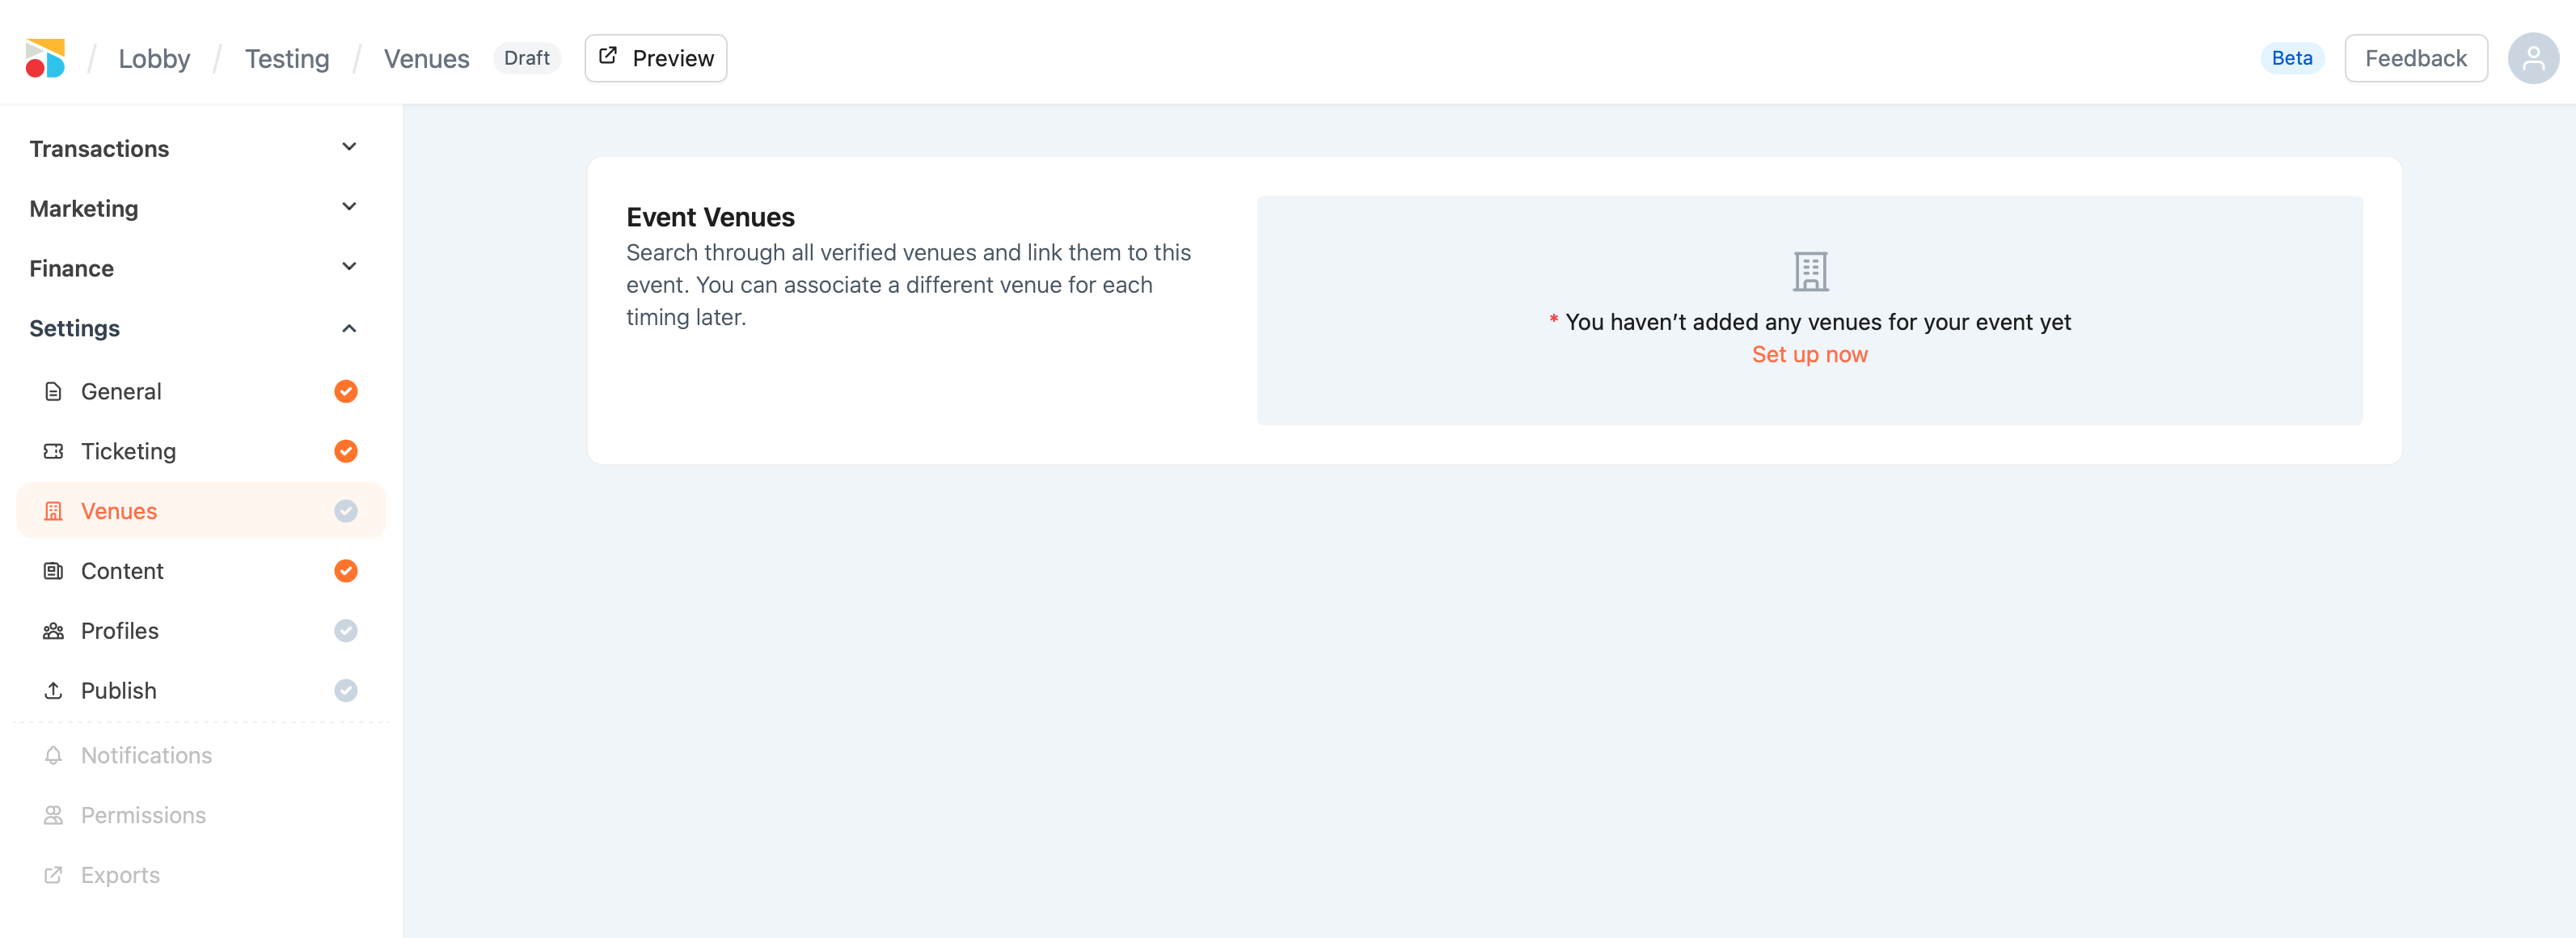
Start from the “Venues” tab
Navigate to the left sidebar under Settings > Venues. -
Click “Set up now”
If it’s your first time, you’ll see a prompt to add your first venue. -
Choose an existing venue
A pop-up window will show:-
Recently used venues (if you’ve done this before)
-
A search bar to browse all verified venues in CloudJoi’s database
-
-
Can’t find your venue? Create a new one
Click “Create New Venue” — you’ll be able to:-
Search via Google Maps
-
Auto-fill address details from the map
-
Manually enter missing info like display name, postal code, etc.
-
⚠️ Note: Only real-world, Google Maps-locatable venues are accepted. This ensures accurate and reliable information for patrons.
-
Click “Save & Continue”
Your venue will now be listed in the Event Venue section.
Assigning Venues to Timings
-
Once a venue is added, it’s auto-assigned to all event timings.
-
You can assign different venues to different timings — just:
-
Click the three-dot icon next to the timing
-
Select “Change Venue” and pick a different one
-
-
You cannot assign multiple venues to a single timing.
🔒 Can I edit a venue after approval?
Nope — once an event is approved or published, venue assignments are locked in. This helps avoid confusion for patrons.
Need to change the venue? Drop us a line at community@cloudjoi.com and we’ll help you out.
✅ Best Practices
-
Always double-check venue names, especially if you're creating a new one.
-
Use Google Maps to avoid typos or wrong addresses.
-
If you’re running an event across multiple locations, make sure each timing is assigned to the correct venue.